Getting Started
After logging into Listen Labs, you’ll be brought to your Workspace dashboard page. This central hub displays all your existing studies. Here, you bird’s-eye view of all your research projects in one place, allowing for efficient project management. You can also use the “Create Folder” to help keep your studies organized!
Step 1: Creating Your Project
- Click on New Study from your dashboard to begin your research journey
- You’ll be taken to the “Tell us about your project” page, part of our Create function. Here you should provide comprehensive details about:
- Project Background: Context that helps the AI understand your research needs
- Company Information: Details about your organization to personalize the interview experience
- Study Objectives: Specific insights you hope to gather, which guides the AI’s questioning strategy
- Hypotheses: Key assumptions you want to test, helping the AI probe in the right areas
- Click the arrow to proceed to the discussion guide creation phase Tip: Your initial prompt from is the foundation of your study. Listen Labs’ AI uses it to auto-generate your study goals, screener, recruitment criteria, respondent format, and discussion guide. These objectives are also used later to shape your analysis report, so the more specific your prompt, the more targeted your insights.

Step 2: Build Your Discussion Guide with the Study Composer
In this section, you’ll collaborate with Listen’s AI “Study Composer” to create a structured yet dynamic discussion guide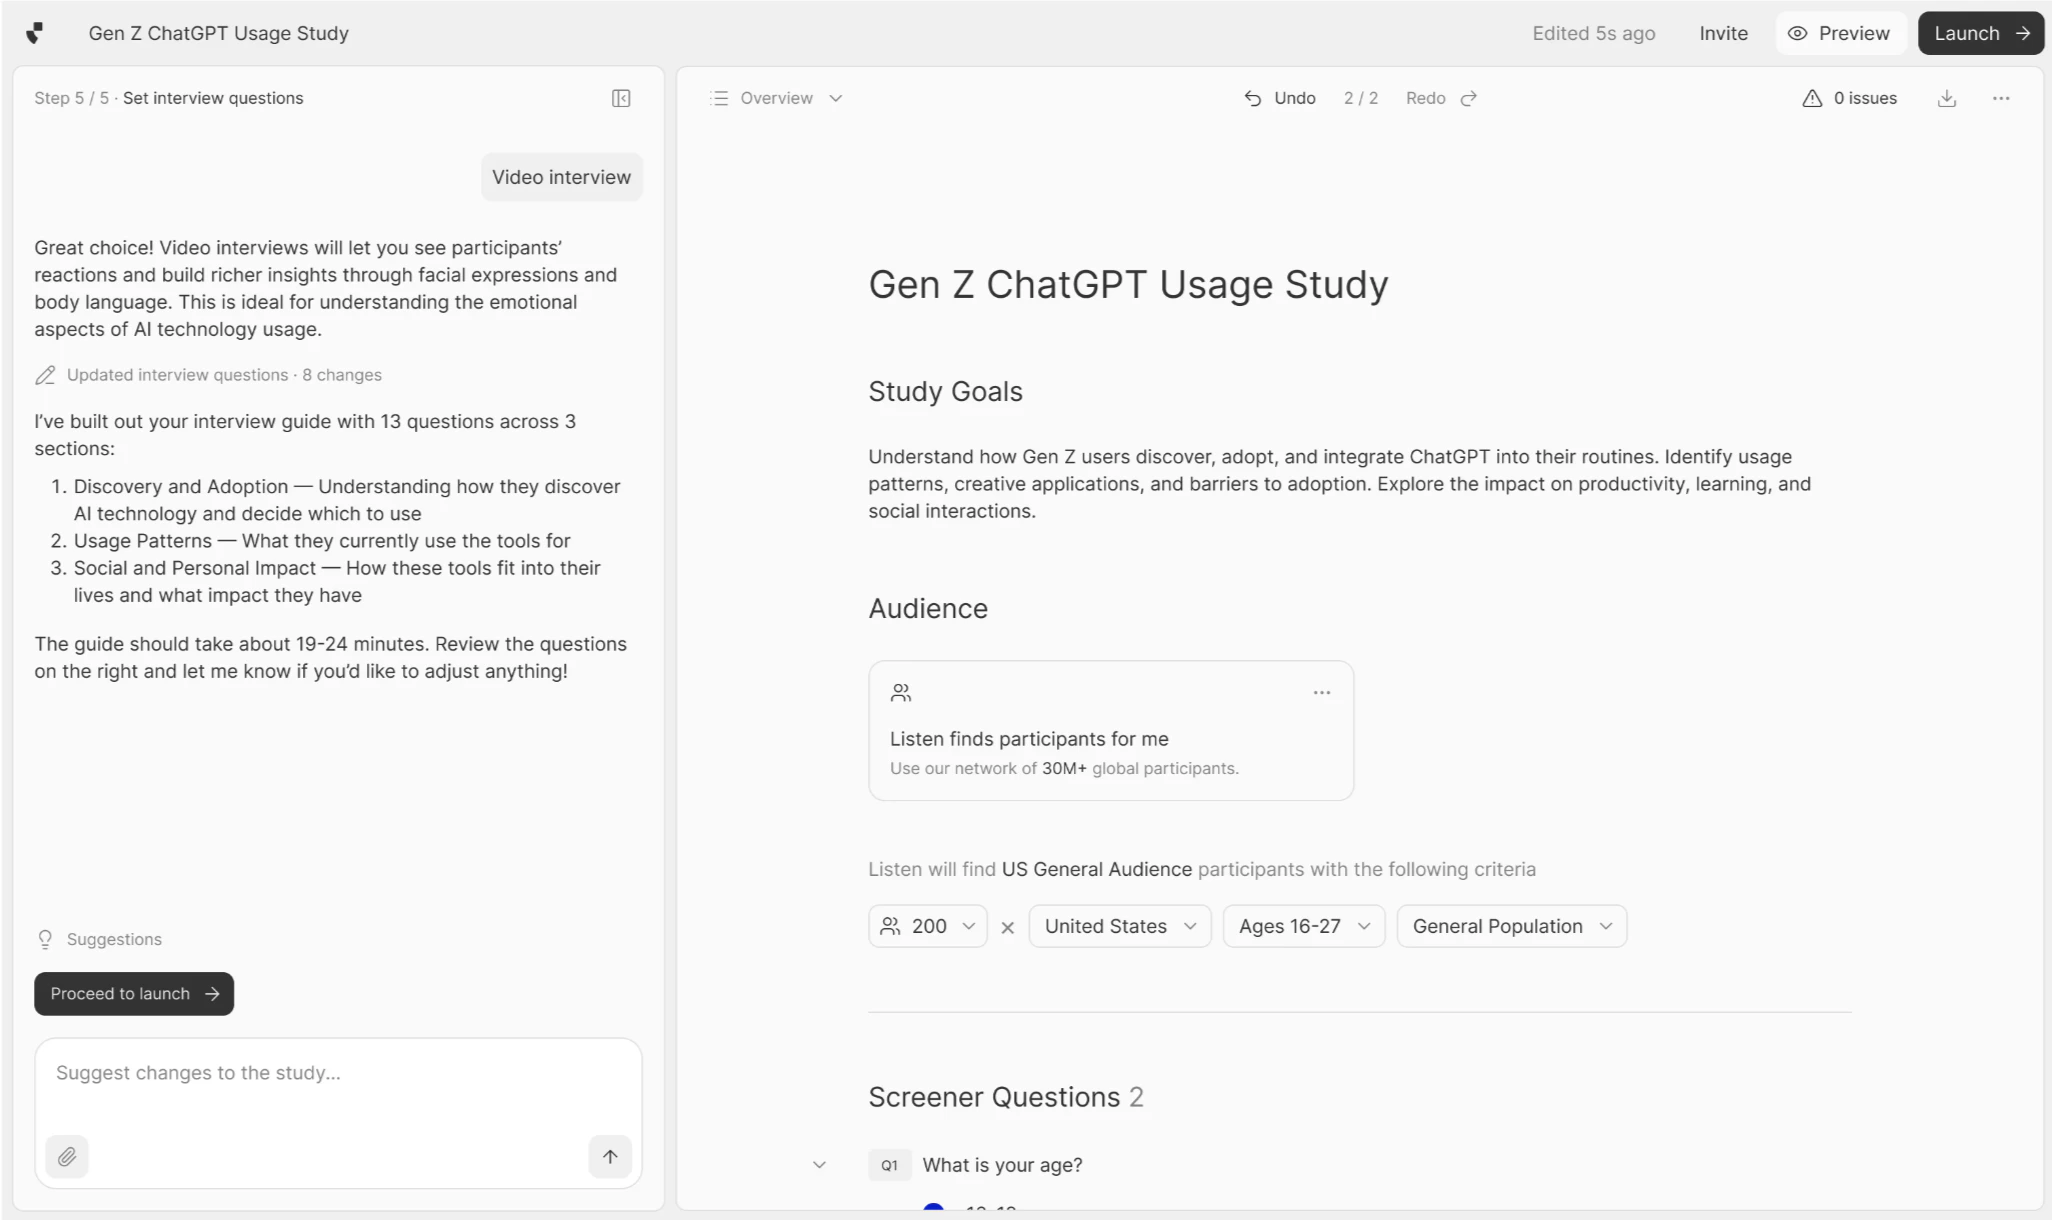
- Your AI-Generated Study Set Up: Your initial prompt in Step 1 formed the foundation of your study.
- Inside Study Composer, you will co-create your Discussion Guide.
- At the top, review your auto-generated Study Goals and Audience — edit these directly if needed
- Prompt the AI or make manual inline edits anywhere in the guide; changes preview in real time
- Click Export to download a .docx copy of your discussion guide at any time
- Inside Study Composer, you will co-create your Discussion Guide.
- Interactive Chat Interface: Use the intuitive chat function on the **left **to refine your guide
- The guide updates in real-time as you chat with the AI, allowing for iterative improvements
- You can undo any edits by clicking the “Undo / Redo” buttons at the top of the page
- Simply type natural language commands to shape your guide. For example:
- “Add demographic screener questions”: Inserts pre-validated screening questions to ensure you’re reaching the right audience. (More on screening HERE)
- “Add a concept test”: Creates a structured section for evaluating products, advertisements, or other stimuli with consistent metrics
- “Edit question wording for question X”: Refines question language for clarity or to address specific research needs
- “Rearrange questions for flow”: Optimizes the flow of your interview for better participant experience and data quality
- “Add follow-up probes to question X”: Ensures the AI digs deeper on critical topics to uncover insights
Automatic Estimations: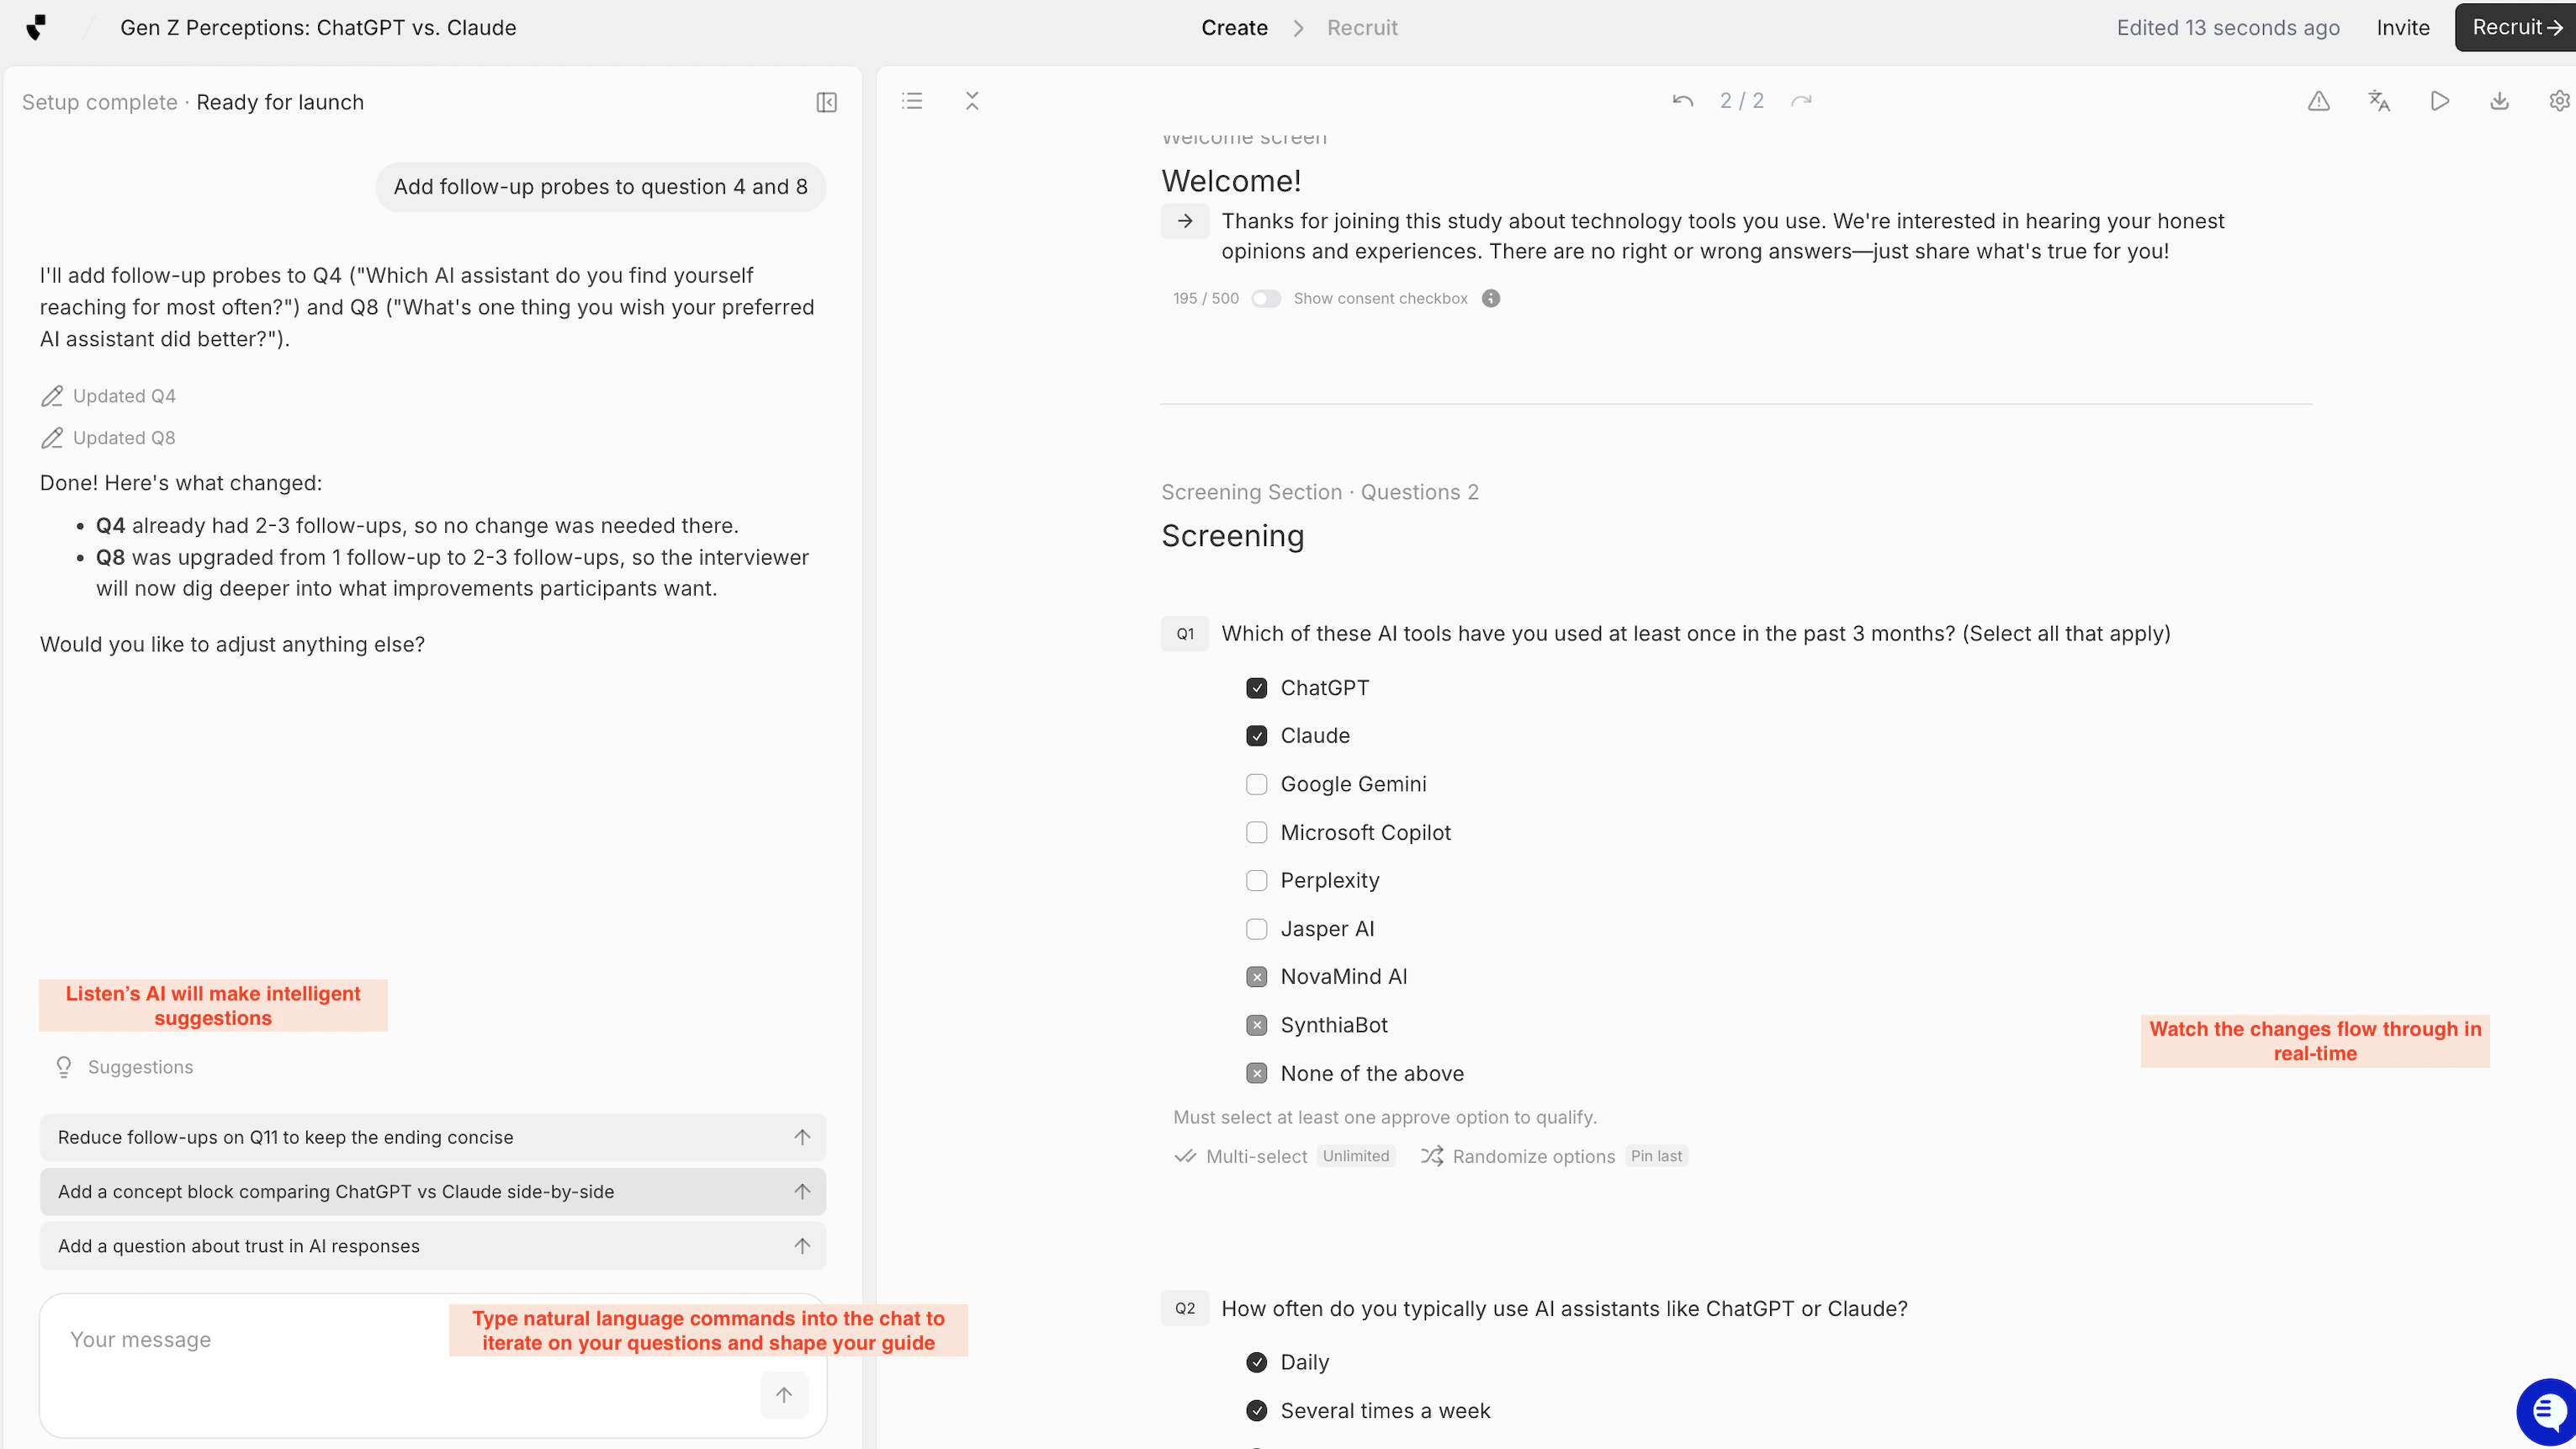
- Length of Interview (LOI): The system calculates approximately how long each interview will take, helping you plan participant incentives and manage expectations
- Response Format: Shows how participants will interact with your questions, ensuring you get the data format you need (editable in Settings)
- Recruitment Group: Creates a recruitment audience based on the profile criteria described (editable in the Recruit/Launch tab)
- When you’re satisfied with your guide structure, click Configure Study to move to detailed customization in the Editor.
Step 3: Configure, Edit & Preview
Your Discussion Guide will remain the central view in your screen. It will be broken out by Question Blocks which you can manage and edit directly, or through the chat.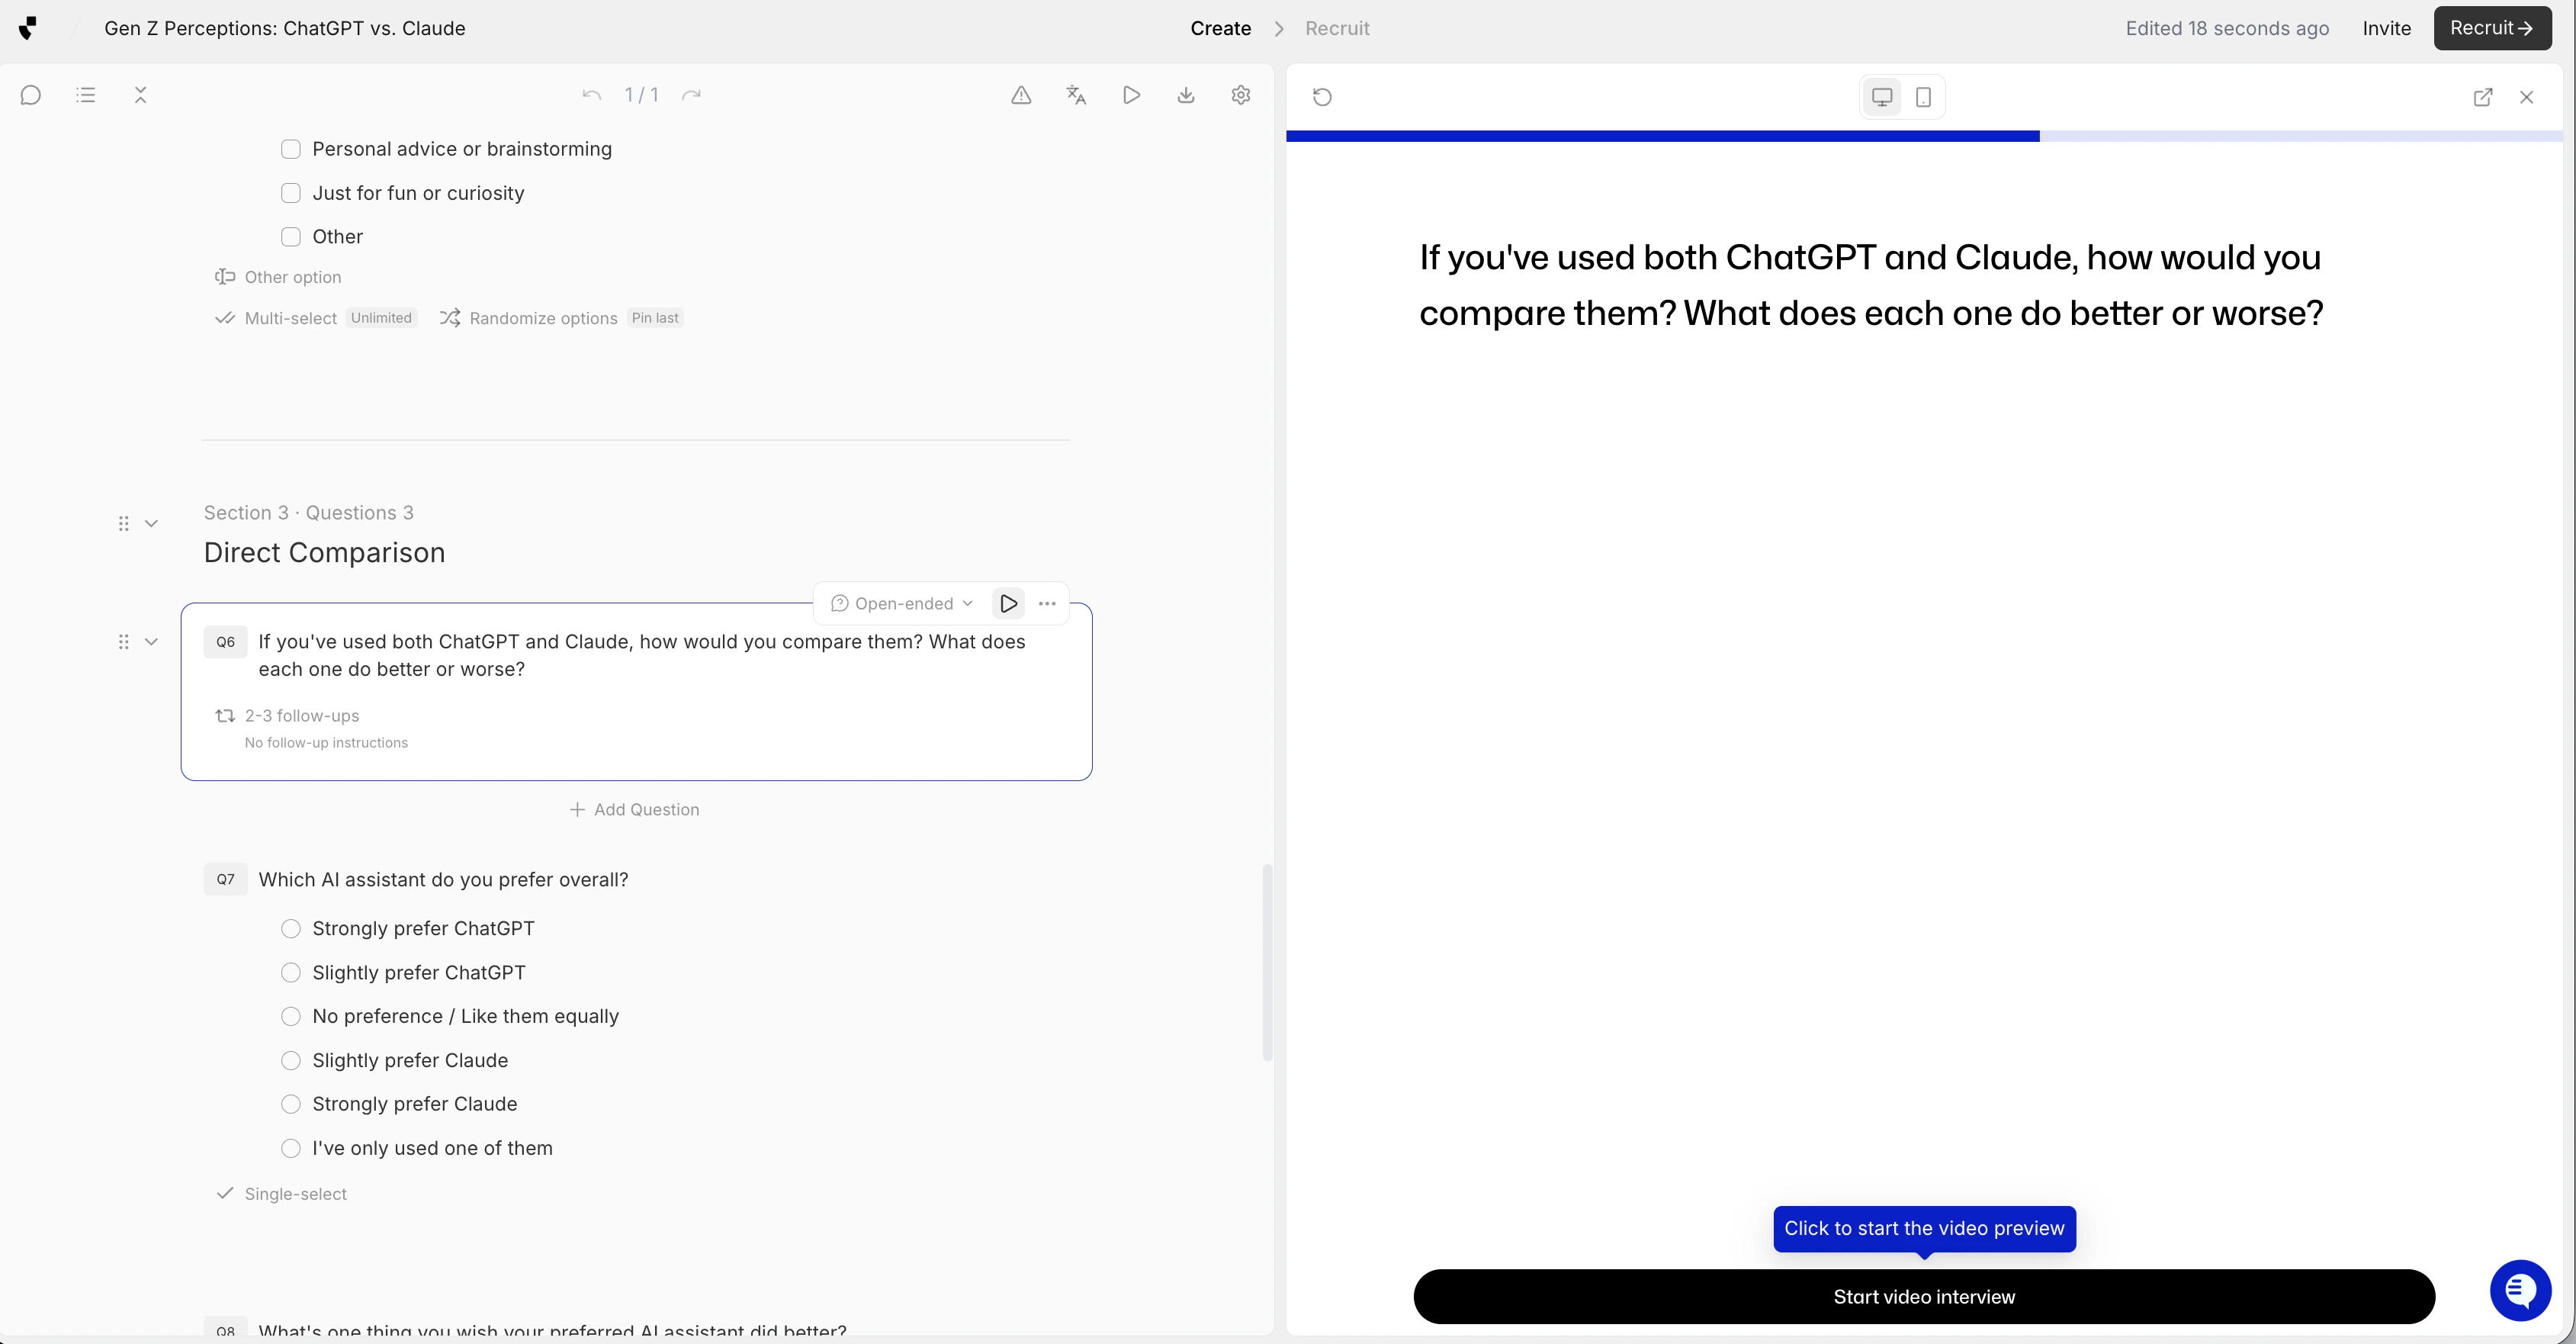
-
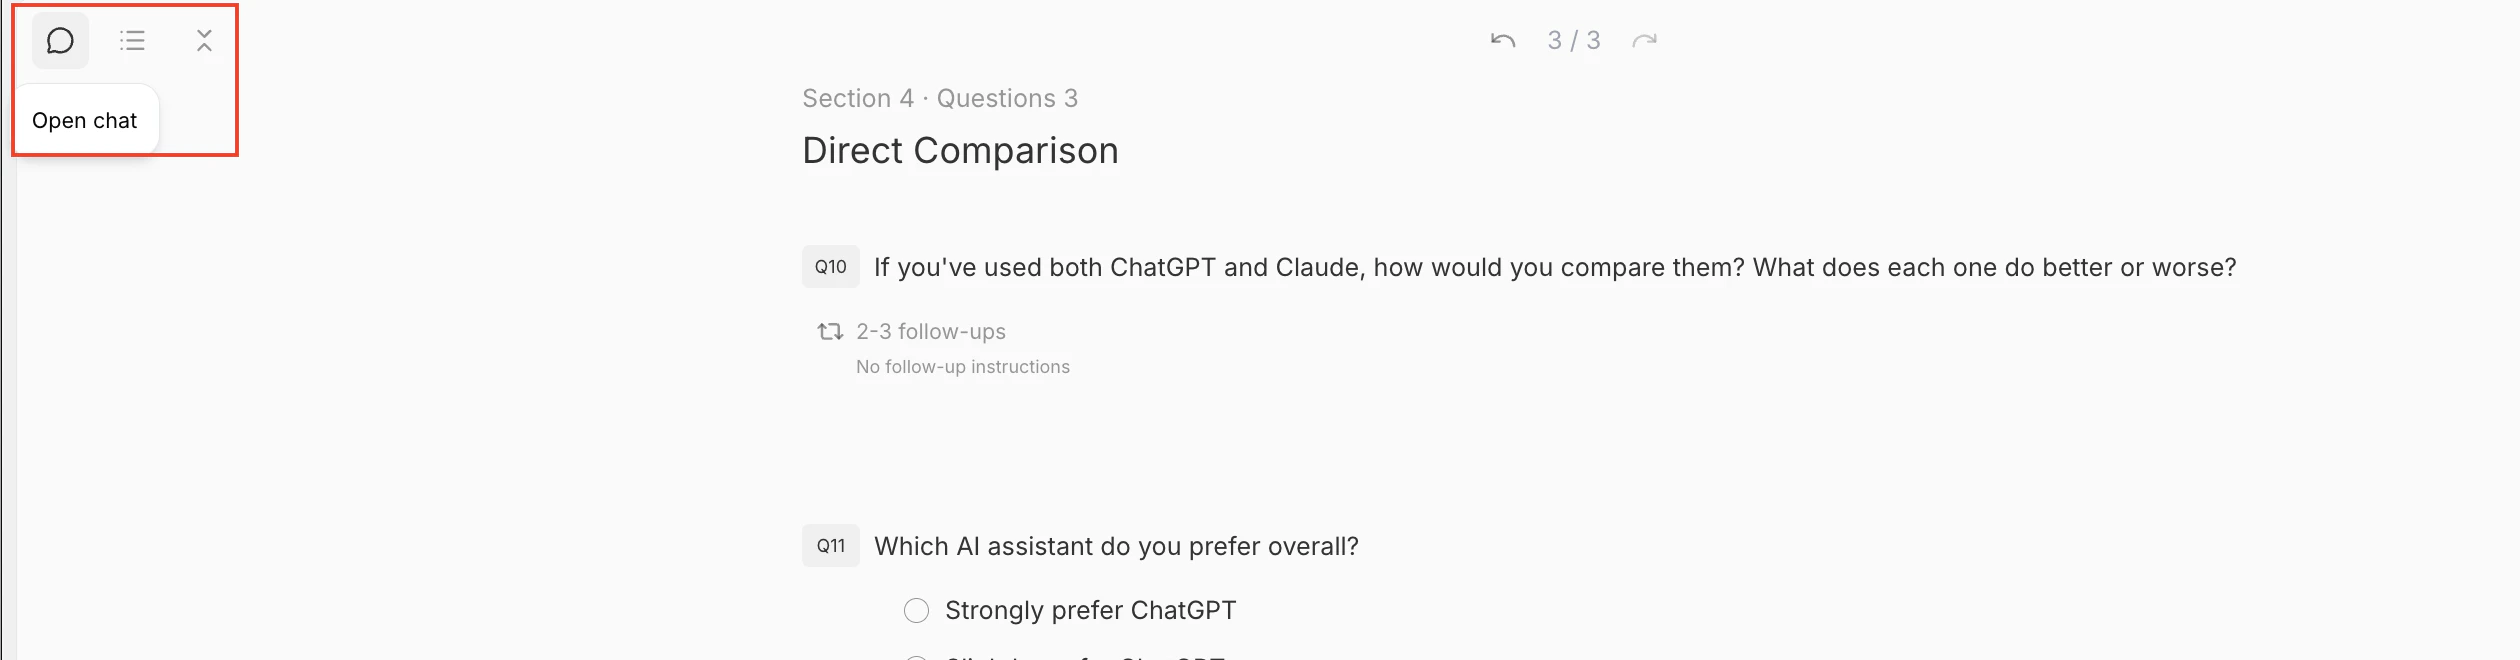
Left Pane: the Interactive Chat can be brought in and out of view by clicking the small chat symbol
-
Right Pane: Preview the interview from respondent POV. You can test your screener logic and probes for individual questions, in the lens of a respondent, by selecting “Start video interview” at the bottom of the right hand side of the page

-
Question Management
- Question Types: Select from various formats (open-ended, multiple-choice, rating scales, etc.) to collect the right type of data for each research question
- Question Visibility: Toggle the arrow next to each question to expand/collapse details, making navigation of complex guides easier
- Follow-up Control: Adjust the number of AI follow-up questions to balance depth vs. interview length.
- Probe Configuration: Add specific probing instructions in the “Other Instructions” field to guide the AI on exactly what aspects to explore further
- Question and Section Organization: Use the dots to move questions and sections for optimal interview flow, or tell the Chat to make question flow changes
- Question Actions: Delete questions by selecting the trash can
- Duplication: Select the two papers icon to make duplicates / copies of a specific question
-
Advanced Features
- Media Integration: Drag and upload static images or videos
- Website Embedding: Embed URLs directly within questions
- Conditional Logic: Create sophisticated question branching based on previous multiple choice / closed ended responses
-
Run from start
- Use the center “Run from start” button to test your interview as a real respondent while having access to editing the questions and probes as you go
- Your answers from previous questions will not be saved if you click into any individual question once starting
- You will not be able to preview any randomization for concept testing within this function (This function is available within the “Open Preview” - which is a true respondent experience that will open in a new window)
- Use the center “Run from start” button to test your interview as a real respondent while having access to editing the questions and probes as you go
Quick Reference
Question Types:
- Open-ended: Best for exploratory research and deep insights
- Single select: When you want one clear answer from a list
- Multi-select: When multiple answers are possible
- Ranking: When you want respondents to compare options
Follow-up Levels:
- None: No additional questions beyond the main question
- On short answers: Only if response is a few words
- 1 follow-up: Light probing
- 2-3 follow-ups: Deeper exploration
Step 4: Configure Study Settings
In the Editor, access Study Settings (wrench icon on the left) to configure:- Language Settings: Set participant-facing languages and reporting language
- Study Presentation: Add a title participants will see and an introduction brief
- Translations: Enable multi-language support for global studies
- URL Parameters: Add custom parameters for tracking or integrations
- Markdown Formatting: Enable rich text formatting in question text